
Open the wound to the greatest extent, expand the operation vision;Dispersed the tension of the incision evenly, reduce the tissue damage and postoperative pain


Open the wound to the greatest extent, expand the operation vision; Dispersed the tension of the incision evenly, reduce the tissue damage and postoperative pain. Open the wound to the greatest extent, expand the operation vision.
Dispersed the tension of the incision evenly, reduce the tissue damage and postoperative pain. Avoid the tissue bleeding, reduce the incision caliber.
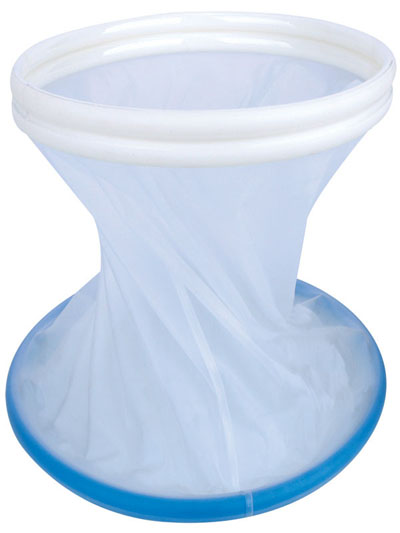
Model A is suitable for the open operation, for example, general surgery, cesarean operation, gynecological operation, and common abdominal operation.
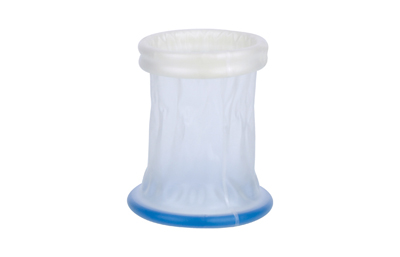
Model B is suitable for endoscope & small caliber incision operation, for example, endoscope, thoracoscope, appendicitis operation etc.
Avoid classII,III incision infection, avoid the tumour incision implantation metastasis, avoid the incision pollution, keep the wound moist
Step 1: Prepare the abdominal or thoracic cavity for the wound protector by making an incision adequate to accommodate the wound protector.
Step 2: Insert the blue distal ring of the wound protector into the incision.
Step 3: Examine and sweep the incision area to ensure that tissue is not caught between the ring and the abdominal wall.
Step 4: Grasp the grey proximal ring in a manner that your hands are opposite to each other. Pull up on the grey proximal ring ensuring that the gray distal ring is fully seated against the peritoneal layer.
Step 5: Roll the grey proximal ring by curling the top ring edge over until the ring fully inverts.
Step 6: Repeat step 5 until the incision is retracted and the wound protector is tight against the walls of the incision. Inserting the Wound Protector
Step 1: If necessary, unroll the grey proximal ring of the wound protector.
Step 2: Insert hand or finger through the opening, grasp blue distal ring and pull blue distal ring out of the incision.
The product shall be stored in a well-ventilated room where no corrosive gases exist and relative humidity is not more than 80%.
| TYPE | Specification | Inner ring diameter(mm) | Outer ring diameter(mm) | Channel Diameter(mm) | Height(mm) |
| HAS QKA | 60/70-60/150 | 70 | 60 | 60 | 150 |
| 80/90-80/150 | 90 | 80 | 80 | 150 | |
| 120/130-120/250 | 130 | 120 | 120 | 250 | |
| 150/160-150/250 | 160 | 150 | 150 | 250 | |
| 180/190-180/250 | 190 | 180 | 180 | 250 | |
| 220/230-220/250 | 230 | 220 | 220 | 250 | |
| HAS QKB | 40/30-15/20 | 40 | 30 | 15 | 20 |
| 50/40-15/20 | 50 | 40 | 15 | 20 | |
| 70/70-35/25 | 70 | 70 | 35 | 25 | |
| 70/60-35/5 | 70 | 60 | 35 | 5 | |
| 100/50-35/5 | 100 | 50 | 35 | 5 |
Inquiry Now
Enter your information here and our Team will contact you within 24 hours.


